What to Expect During a Real Estate Closing

The real estate closing is the final step of buying or selling property and often marks a moment of excitement and relief. Yet, the process can feel overwhelming if you're not familiar with what it entails. Understanding each step of the closing process will help you feel confident and prepared as you complete your transaction. This guide breaks down the important aspects of a real estate closing, explaining the roles of various parties involved, the documents required, and the critical decisions that take place.
Understanding the Basics of Real Estate Closings
A real estate closing is the day when ownership officially transfers from the seller to the buyer. It’s often referred to as “settlement” or “completion” and involves signing important documents, verifying funds, and making sure that legal requirements are met. For buyers, this is the moment when you receive the keys to your new property. For sellers, it’s the point at which you’re no longer responsible for taxes, insurance, or maintenance on the property.
The process typically occurs in the presence of a closing agent, who makes sure that everything is done correctly and legally on behalf of all parties. Loan officers, real estate attorneys, title agents, and realtors may also play important roles in facilitating the closing. Consult a
closing lawyer near you to review your options.
Steps in the Real Estate Closing Process
1. Signing the Purchase Agreement
The first document that sets the stage for closing is the purchase agreement. This contract outlines the terms and conditions agreed upon by the buyer and seller, including the purchase price, contingencies, and closing date.
Once the purchase agreement is finalized, both buyer and seller work toward completing the conditions listed in the agreement. This may include securing financing, conducting inspections, or resolving any contingencies.
2. Title Search and Insurance
A title search is conducted by the title company or attorney to make sure there are no liens, unpaid taxes, or other claims against the property. Once completed, title insurance is issued to protect the buyer and lender (if applicable) from any future disputes or legal issues related to the property’s ownership.
Title insurance is a one-time payment that offers peace of mind during and after the transaction. The importance of this step cannot be overstated, as it makes sure that the buyer can confidently take ownership of the property without legal entanglements.
3. Closing Disclosure Review
Federal law requires that buyers receive a Closing Disclosure (CD) at least three business days before the scheduled closing date. This document itemizes the final terms of your mortgage loan, including the monthly payment amount, interest rate, and closing costs.
It’s important to review every detail carefully to make sure there are no surprises on closing day. If something doesn't match your expectations or previous agreements, bring it to the attention of your lender or real estate attorney immediately.
4. The Final Walk-Through
Shortly before closing, typically 24 to 48 hours ahead, the buyer is allowed to perform a final walk-through of the property. This step makes sure that the property is in the agreed-upon condition and that any negotiated repairs have been completed.
Buyers should also check that appliances, fixtures, and utilities are functioning properly and that no new damage has occurred since the last viewing.
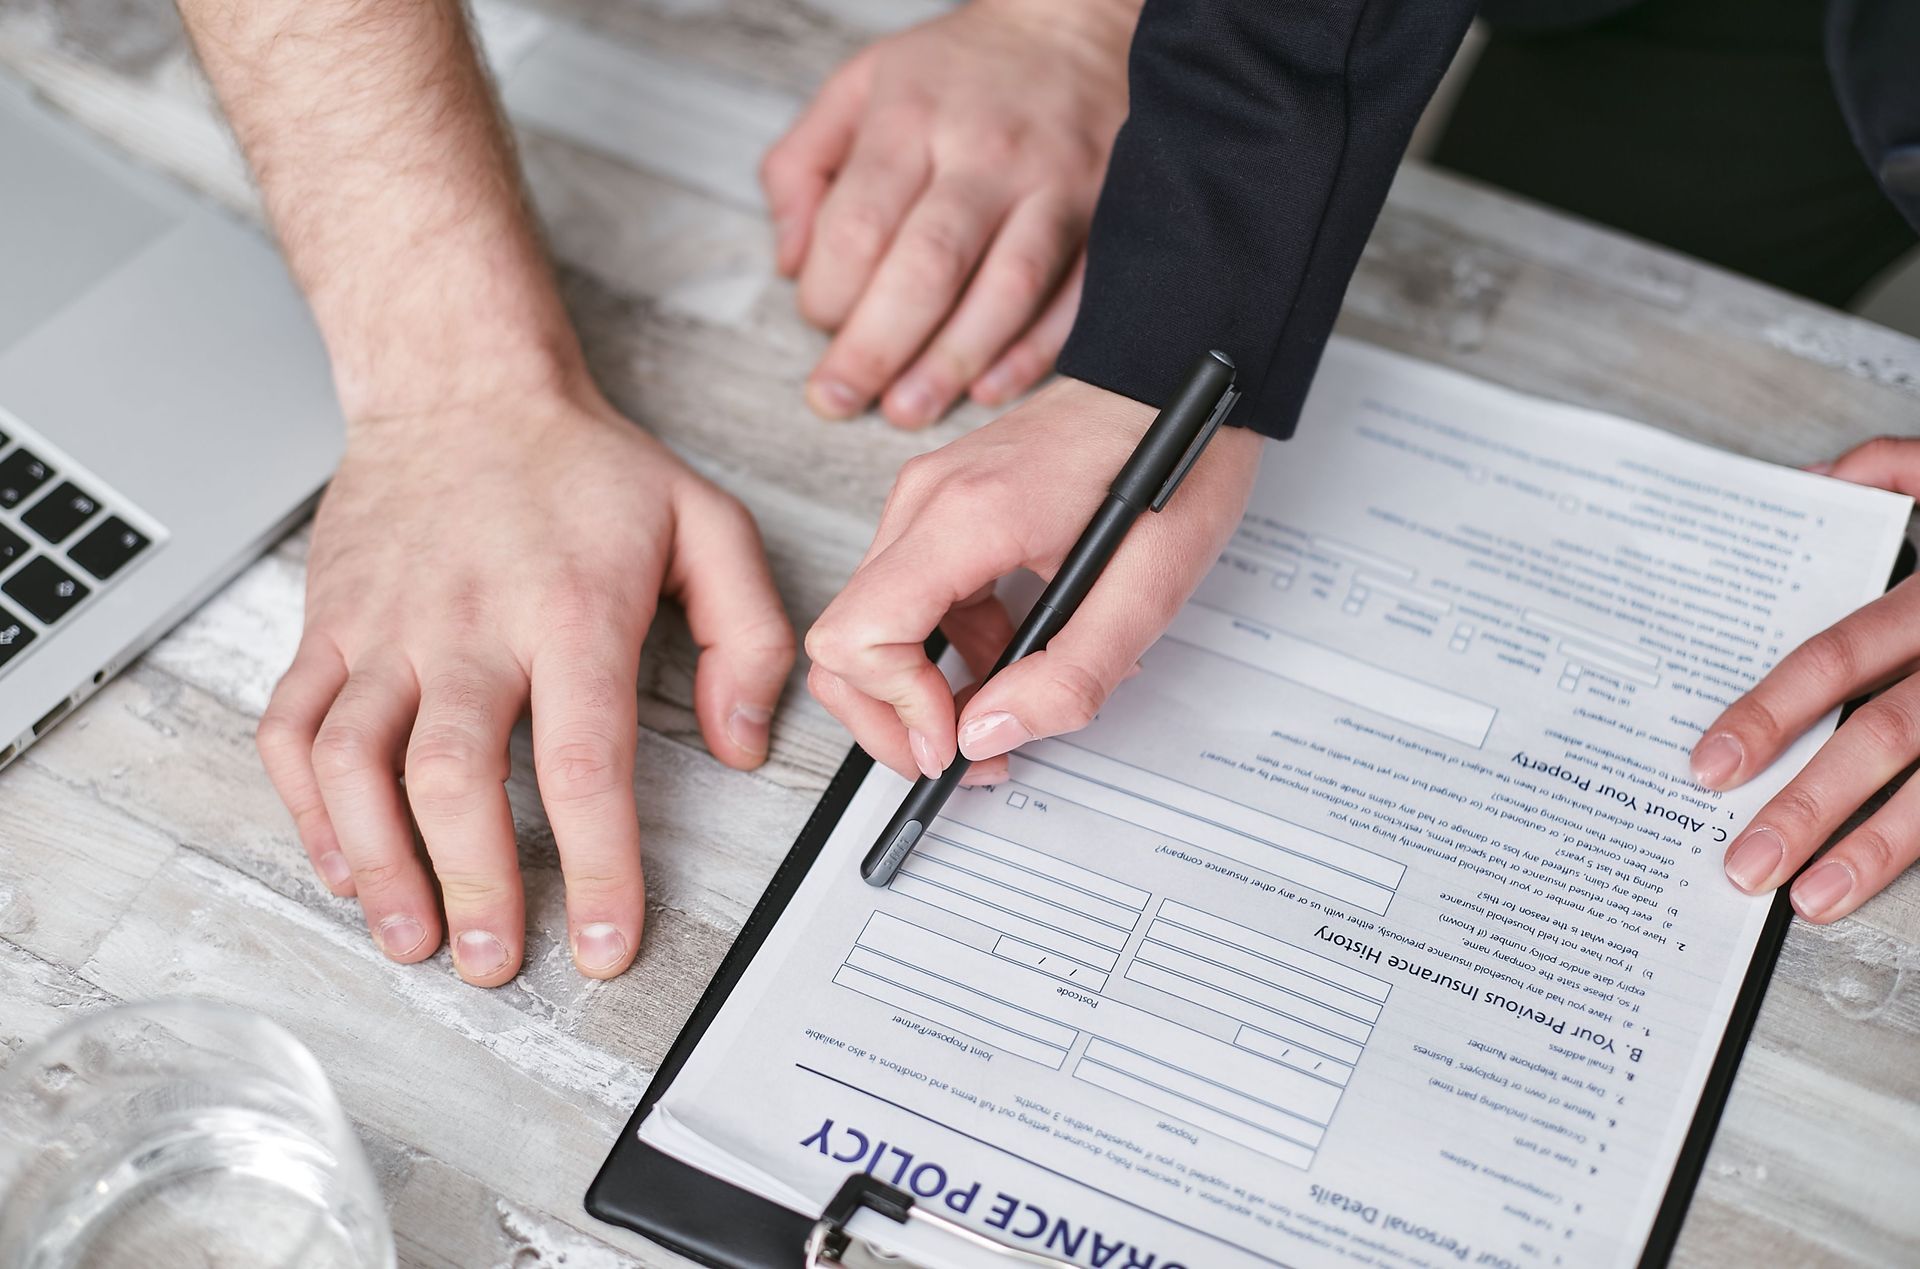
5. Settlement Day and Document Signing
On the day of closing, all involved parties will meet to sign the necessary documents. For the buyer, this typically includes mortgage documents, the deed, and acknowledgment of disclosures. For the seller, it may involve signing the deed transfer and documents confirming that closing costs have been paid.
Be prepared to sign your name multiple times. Make sure to read documents thoroughly before signing, and consult your real estate attorney if there’s anything unclear.
6. Payment of Closing Costs
Buyers typically provide a cashier’s check or wire transfer the necessary funds to cover their portion of the closing costs, which may include fees for the loan application, appraisal, title insurance, and more. Sellers, too, are responsible for specific costs, such as agent commissions.
Your Closing Disclosure will outline these costs in detail, so you know what to expect ahead of time.
7. Recording the Deed and Title Transfer
Once all paperwork is signed and funds have been distributed, the closing agent will submit the deed to the local county recording office. This step makes sure that the new ownership is officially recorded.
For buyers, it means the property is now legally yours. You’ll receive a copy of the final signed documents as well as the keys to your new home.
Tips to Prepare for a Smooth Closing
- Communicate Clearly
Keep in touch with your real estate agent, lender, and attorney. Being proactive about addressing any potential issues can prevent last-minute delays. - Organize Your Documents
Bring all required documents to the closing, such as proof of homeowners insurance, a government-issued photo ID, and any paperwork your lender requested. - Understand Closing Costs
Review your Closing Disclosure thoroughly so you know exactly how much money to bring and what each cost covers. - Attend the Walk-Through
Don’t skip the final walk-through. It’s your last chance to make sure that the property is in acceptable condition before the transfer of ownership.
What happens if the seller doesn’t meet the closing requirements?
If the seller fails to complete agreed-upon repairs or resolve contingencies, the buyer can request an extension or negotiate a credit to cover the costs. Consult a closing lawyer near you to review your options.
Can you back out of a real estate closing?
Yes, but doing so typically has financial and legal consequences. Buyers may lose their earnest money deposit, and both parties could face potential lawsuits. Always speak with one of our real estate closing lawyers before making this decision.